

Level 2 EV Charger Time Explained for Every Battery
A Level 2 charger typically brings a battery electric vehicle to 80% charge in about 4 to 10 hours and a plug-in hybrid to 80% in about 1 to 2 hours, adding roughly 10 to 40 miles of range per hour. For many drivers, that means an overnight session can replace a full day of commuting.
You park after work, plug in, and head inside. The practical question isn't usually whether the car can charge overnight. It's whether your particular vehicle, battery, charger, and electrical panel will finish in the time you expect.
Table of Contents
How Level 2 Charging Works Without the Jargon - The four terms that matter - Why the same charger can produce different results
What Actually Determines Your Charging Time - Battery capacity - Wall power and circuit capacity - Onboard charger limit - Find the limiting factor first
Simple Math to Estimate Level 2 Charging Hours - Work through the calculation - Estimated Level 2 Time to 80% by Battery Size and Charger Power - Convert power into miles per hour
Real World Examples and Miles Per Hour You Can Expect - Match the session to the parking window - Why faster isn't always proportionally faster
Choosing the Right Level 2 Power for Your Home and Panel - Use a decision checklist - Know when an upgrade actually helps
Introduction to Level 2 EV Charger Time and Daily Driving
You arrive home with a nearly empty battery, plug in before dinner, and wake to a ready car. That routine explains why Level 2 charging suits home parking, workplaces, and destination locations. The U.S. Department of Transportation's explanation of EV charging speeds describes Level 2 as the practical middle ground between a standard household outlet and DC fast charging.
A Level 2 setup can add roughly 10 to 40 miles of range per hour, but that figure is a planning guide rather than a promise. Vehicle efficiency, charging equipment, and the time available at the parking spot all affect the result. A short evening stop and a full overnight session are different charging jobs, even with the same wall unit.
The wall unit rating alone does not predict your session length.
A useful way to plan is to start with the driver's need: how many miles must the car recover before the next trip? If the vehicle sits at home for many hours, a moderate charging rate may cover the commute without requiring the largest available circuit. If the car returns late, leaves early, or needs substantial energy between trips, charging speed matters more.
Practical rule: Measure success by the miles recovered while the car is parked, not only by the hours shown on a charging screen.
Level 2 charging time is a negotiation among three parts of the system. The electrical supply sets how much power can reach the equipment. The vehicle's onboard charger sets how much AC power the car can accept. The battery determines how much energy the session must store. A larger circuit saves meaningful time only when the vehicle can use its added output and the battery needs that extra energy. Otherwise, the upgrade may change little.
That distinction can prevent an expensive mismatch. Before requesting a larger circuit or electrical service work, identify the limit that controls your current setup and compare it with your daily driving schedule.
For a plain-language introduction to the equipment itself, see this guide to what a Level 2 EV charging station is.
How Level 2 Charging Works Without the Jargon
Start with a water system. Voltage resembles water pressure, amps resemble the amount of water moving through the pipe, and kilowatts describe how much useful electrical power reaches the vehicle at a given moment. Kilowatt-hours, written as kWh, measure the total amount of energy the battery stores.
A standard household outlet uses 120 volts. Level 2 charging uses a dedicated 240-volt circuit, similar in principle to the circuits used by other high-demand household equipment. The higher voltage lets the system deliver more power without treating the charging session like a very slow trickle.
DC fast charging works differently. It sends direct current toward the battery and bypasses the vehicle's onboard AC charger. Level 2 sends alternating current to the car, and the car's onboard charger converts it into the form the battery can store.
The four terms that matter
Volts: Electrical pressure.
Amps: Electrical flow.
Kilowatts: The rate of energy delivery.
Kilowatt-hours: The battery's energy quantity.
The basic relationship is straightforward:
Power in kilowatts = volts × amps ÷ 1,000
At the same voltage, a circuit carrying more amps can provide more kW. But the wall unit doesn't get the final say. The onboard charger decides how much AC power the vehicle accepts.
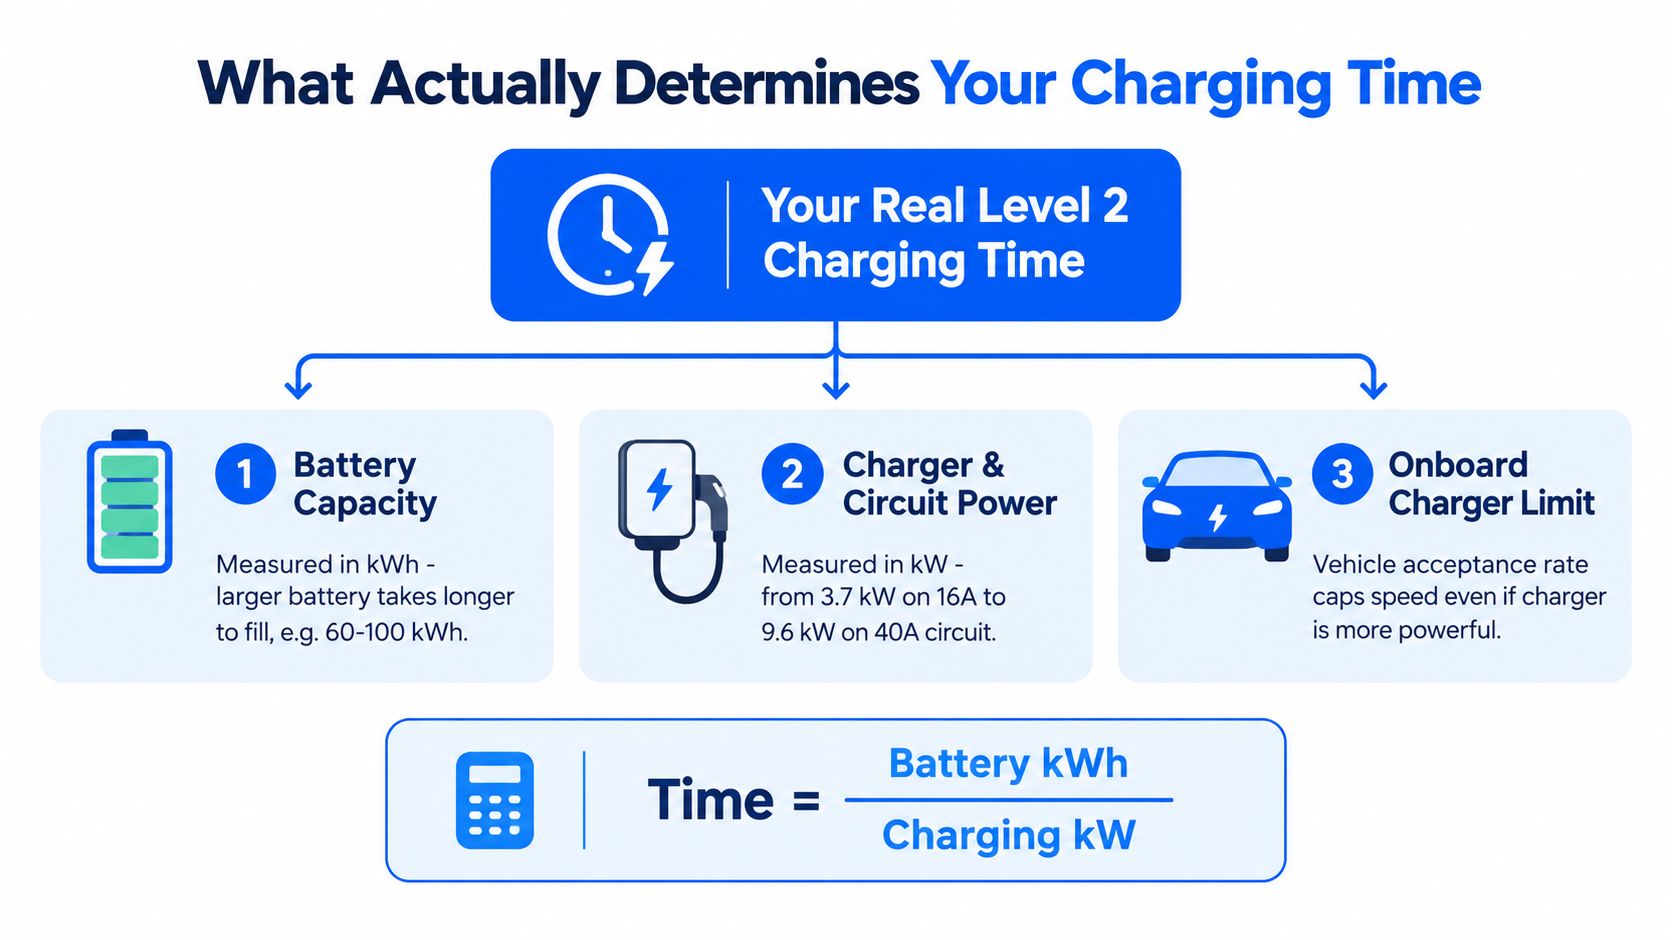
Why the same charger can produce different results
Suppose two households install identical Level 2 units. One vehicle may accept the equipment's full available output, while the other may accept less through its onboard charger. The second car will charge more slowly even though both drivers see the same wall hardware.
The battery creates another difference. A smaller battery needs fewer kWh to reach the same state of charge than a larger battery. Temperature, the starting charge level, and the vehicle's charging behavior also affect the final session.
You can find more detail on the electrical side in this explanation of a 240-volt charging station.
Power in equals charging speed only when the vehicle can accept that power.
That sentence captures the central idea. The charger, circuit, and car negotiate the actual rate. The slowest limit controls the result.
What Actually Determines Your Charging Time
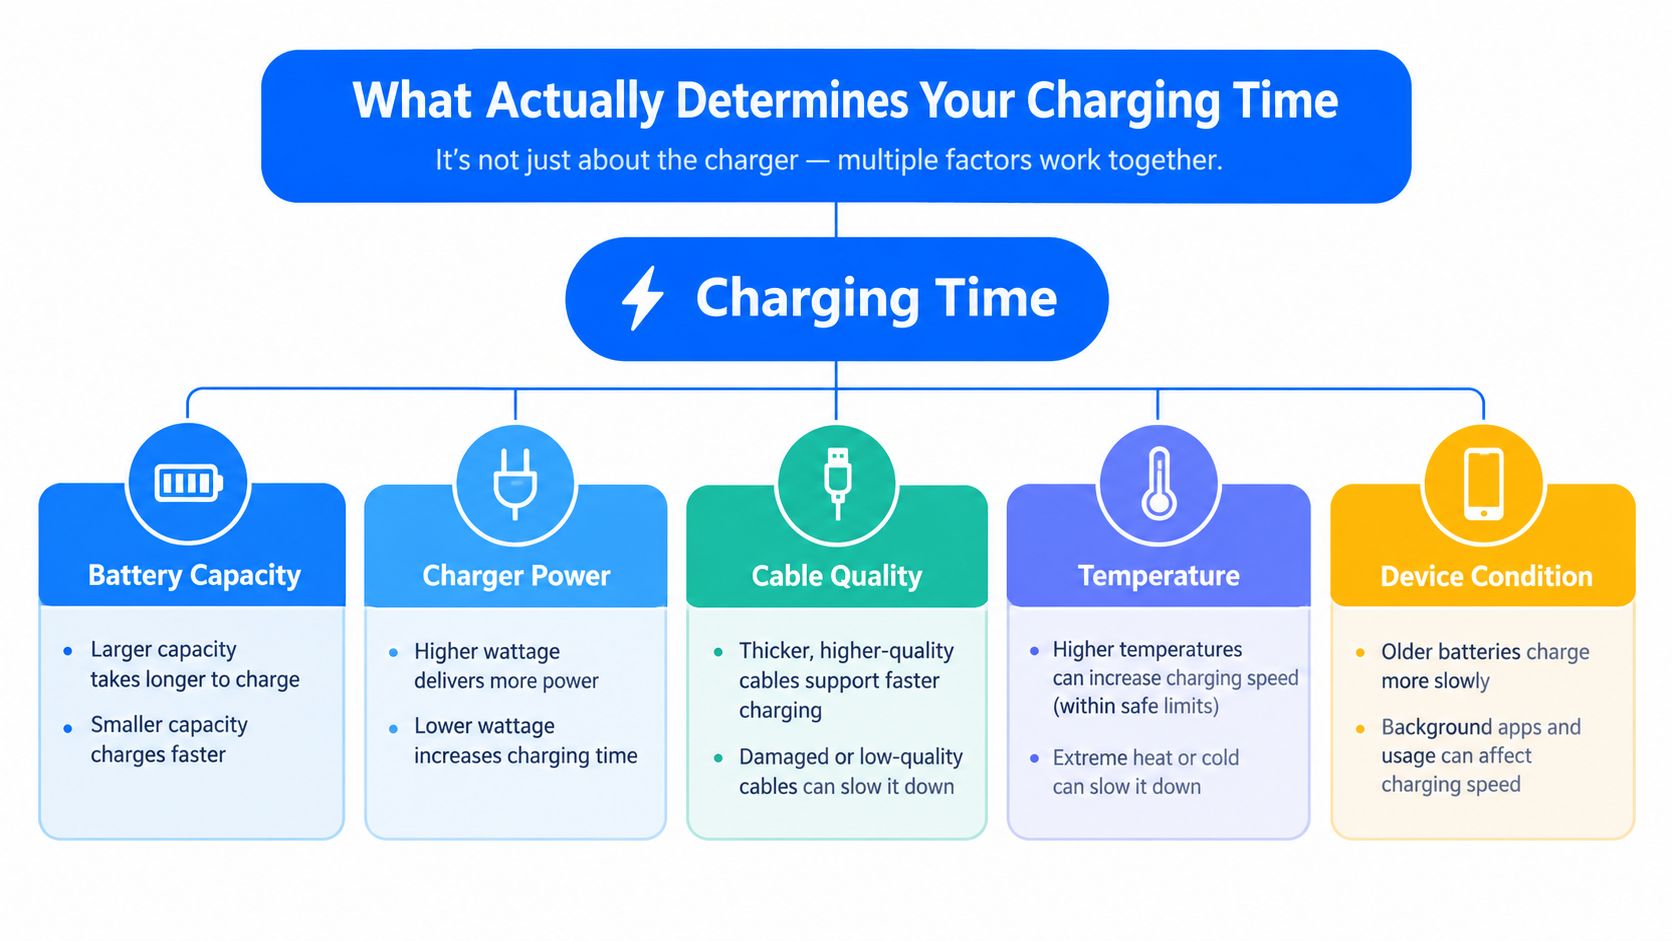
A Level 2 session is a three-way negotiation. Wall power sets how much electricity can arrive, the vehicle's onboard charger limit sets how much AC power it can accept, and battery size sets how much energy the session must deliver. The slowest limit controls the practical result.
Battery capacity
Battery capacity is measured in kWh, the size of the vehicle's energy tank. A larger battery generally needs more time than a smaller one when both receive the same charging power.
The starting charge level changes the job as well. Adding a modest amount during an evening requires much less energy than charging from nearly empty to 80%. The target matters too. Common Level 2 time estimates usually describe reaching 80%, not filling every final portion of the battery.
Wall power and circuit capacity
Level 2 equipment can provide roughly 3 kW to 22 kW, and a 40 kWh battery can take about 2 to 13 hours depending on the available rate, according to this Level 2 charging guide. These figures describe a wide range of equipment, not one universal Level 2 experience.
A larger circuit can save hours when the vehicle can accept its higher output and the battery needs substantial energy. For example, raising available power helps a car with a higher AC acceptance limit recover energy faster. The circuit upgrade saves little or no time when the onboard charger accepts less than the wall unit can provide. The car then acts like a narrow pipe connected to a wider one.
The panel also needs enough capacity for the proposed circuit and the home's other loads. Wiring, breaker selection, installation method, and local requirements affect what can be installed safely.
Onboard charger limit
The onboard charger is the vehicle's intake valve. If it accepts only a certain AC rate, a higher-rated wall unit cannot force more power into the battery. The extra capacity remains unused during that vehicle's charging sessions.
A higher-rated unit can still support a future vehicle or match a car with a higher acceptance rate. Before paying for a larger circuit, check the vehicle's maximum AC input and compare it with the power you need while parked.
Find the limiting factor first
Use this order:
Check the battery size. Find the usable capacity in the vehicle's specifications or charging information.
Check the vehicle's maximum AC acceptance rate. This is the ceiling set by the onboard charger.
Check the wall unit and circuit output. Compare that supply with the vehicle's ceiling. The lower usable value becomes the effective charging power.
Check the home's electrical capacity. An electrician must confirm that the proposed circuit fits safely with existing loads.
The useful question is not the biggest Level 2 rating available. Ask what rate the car can use and what rate restores the miles needed while it is parked.
Simple Math to Estimate Level 2 Charging Hours
A charging session can look different depending on three limits: the energy the battery needs, the power available at the wall, and the rate the vehicle can accept. The calculation starts here:
Charging time = energy needed in kWh ÷ effective charging power in kW
The word effective matters. Use the lower of the wall unit's output and the vehicle's onboard charger limit. A larger circuit saves time only when the car can accept its higher output. Charging losses and slower charging near the target can add time, so the formula gives a planning estimate rather than a guaranteed display reading.
Work through the calculation
Suppose a vehicle has a 40 kWh battery and needs to reach 80% from empty. It needs 32 kWh before accounting for losses. At an effective 7.2 kW rate:
32 kWh ÷ 7.2 kW = about 4.4 hours
The actual session may take longer because electricity is not transferred perfectly and charging can slow as the battery fills.
An 80 kWh battery going from empty to 80% needs 64 kWh before losses. At 9.6 kW:
64 kWh ÷ 9.6 kW = about 6.7 hours
If that vehicle accepts only 7.2 kW, a 9.6 kW wall unit does not shorten the session. The onboard charger remains the limiting factor. This is the three-way negotiation in practice: wall power can supply energy, the vehicle sets its intake limit, and battery size determines how much energy must be delivered.
Estimated Level 2 Time to 80% by Battery Size and Charger Power
The table uses the ideal 80% calculation, before real-world losses and charging-rate changes. It compares battery and power combinations, not exact session lengths.
Battery Size | 3.7 kW Time | 7.2 kW Time | 9.6 kW Time | 11.5 kW Time |
|---|---|---|---|---|
40 kWh | 8.6 hours | 4.4 hours | 3.3 hours | 2.8 hours |
65 kWh | 14.1 hours | 7.2 hours | 5.4 hours | 4.5 hours |
80 kWh | 17.3 hours | 8.9 hours | 6.7 hours | 5.6 hours |
These values come directly from the stated formula, using the listed battery sizes and power levels. They are not additional measured specifications.
Convert power into miles per hour
Drivers usually plan around range rather than stored energy. Multiply charging power by vehicle efficiency to estimate miles added per hour.
For a vehicle using 3 miles per kWh and charging at 7.2 kW:
7.2 kW × 3 miles per kWh = about 22 miles per hour
A more efficient compact vehicle can gain more miles at the same kW. A larger vehicle can gain fewer because it uses more energy for each mile. The Level 2 charging guide notes that a typical 7 kW home unit can add around 20 to 30 miles per hour, depending on compatibility and conditions.
Real World Examples and Miles Per Hour You Can Expect
A driver plugs in after work with six hours before leaving again. The useful question is not only how long the battery needs to charge. It is how many miles the car can recover before morning.
Three vehicles connected to the same effective 7.2 kW Level 2 supply can gain different amounts of range. A compact EV with strong efficiency may add more miles per hour than a midsize crossover. A large long-range vehicle may add fewer, even with identical electrical input, because it uses more kWh for each mile.
Many Level 2 systems fall within a broad range of 10 to 40 miles added per hour, as noted earlier. Treat that range as a planning guide, not a promise. The result depends on the power available at the wall, the vehicle's onboard charger limit, the battery's energy needs, and charging conditions.

Match the session to the parking window
An evening parking period may replace a typical commuter's daily energy use without refilling a large battery from empty. Compare the energy used during the day with the energy the car can receive overnight.
Parking window | Practical planning question |
|---|---|
6 hours | Will the session replace the miles driven today? |
8 hours | Does the vehicle's effective rate cover a normal workday? |
10 hours | Can the longer window compensate for a lower-power circuit? |
These windows are planning scenarios, not universal performance claims. A driver who used only a modest portion of the battery may need only part of the available session. Someone returning from a long trip may need considerably more time.
Why faster isn't always proportionally faster
A higher-power circuit can shorten charging when the vehicle's onboard charger can accept the extra output and the battery still needs that energy. The three limits must agree: the wall must supply power, the car must be able to take it, and the battery must require enough energy for the added capacity to matter.
A vehicle with a lower onboard charging limit will not charge faster just because the wall unit has a higher rating. Likewise, a circuit upgrade may provide little practical benefit if the current setup already restores the miles needed during the usual overnight window.
A bigger circuit saves hours when wall power is the limiting factor. It does not when the vehicle or the driver's schedule sets the limit.
The best setup isn't the one with the highest rating. It's the one that restores the required miles before the car leaves again.
Compare the vehicle's acceptance rate with daily energy demand. A driver with a short commute may prefer a simpler installation. Someone who arrives home late and leaves early may benefit from a higher effective rate, provided the vehicle and home electrical system can use it.
Choosing the Right Level 2 Power for Your Home and Panel
Home charging starts with the electrical system, not the marketing label on the charger. In Southeastern Pennsylvania and similar markets, an electrician needs to examine the panel, available capacity, wiring route, grounding, and local installation requirements before selecting the circuit.
Level 2 charging's long history of standardization helped make this planning more predictable. The SAE J1772 interface became the common non-Tesla AC connection in North America and supports Level 2 charging up to 19.2 kW, according to federal technical material on electric vehicle grid integration. Standardization creates compatibility, but it doesn't create unlimited capacity in a home's panel.
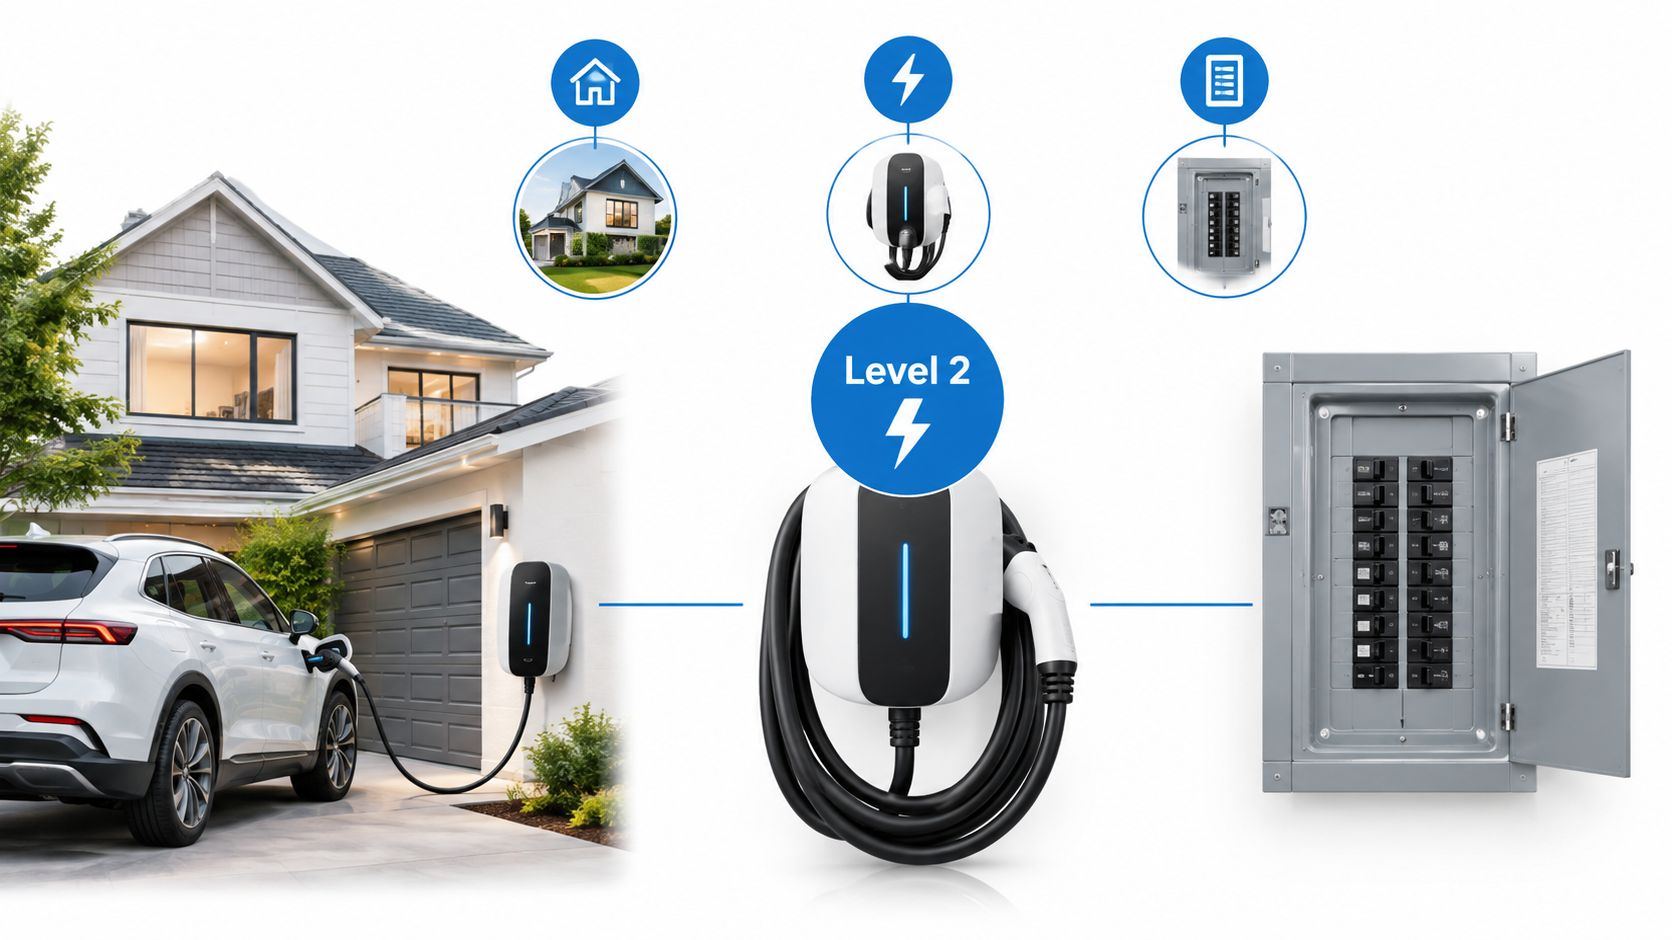
Use a decision checklist
Vehicle limit: Confirm the car's maximum AC acceptance rate.
Daily recovery: Estimate how many miles you need to replace each night.
Circuit output: Compare the proposed charging power with the vehicle limit.
Panel condition: Have the electrician evaluate capacity, breaker space, and existing loads.
Installation route: Account for distance, indoor or outdoor placement, and equipment location.
Future vehicle plans: Consider whether a later vehicle may accept more AC power.
A lower-power circuit can be the sensible choice if it already replenishes daily driving during the available parking window. A higher-power circuit becomes more compelling when the vehicle can accept it and the driver needs to recover substantial range in a shorter period.
Know when an upgrade actually helps
A panel or service upgrade may be necessary when the home's existing electrical demand leaves insufficient capacity for the charger. It may also support future loads, but the decision should follow a load assessment rather than a desire for the largest possible charger.
If the vehicle's onboard charger is the bottleneck, increasing wall power won't reduce charging hours. If the panel is the bottleneck but the vehicle can use more power, then electrical work may produce a meaningful change. The electrician's calculation should connect the proposed circuit to the actual vehicle and driving schedule.
For homeowners evaluating that capacity question, this overview of a home electrical panel upgrade explains why panel readiness belongs in the charging plan.
Key Takeaways for Planning Your Level 2 Charging Setup
Level 2 charging time is a negotiation between battery size, available wall power, and the vehicle's onboard charger. The basic estimate remains:
Time = battery energy needed in kWh ÷ effective charging power in kW
Use the lower power value when the charger and vehicle accept different rates. Then allow extra time for normal losses, temperature effects, starting state of charge, and the way charging can slow near the target.
A quick verification checklist can prevent an expensive mismatch:
Battery: Confirm the vehicle's usable battery capacity.
AC limit: Verify the maximum power the onboard charger accepts.
Daily miles: Estimate the range you need to recover overnight.
Parking window: Compare that need with the hours the vehicle usually sits.
Electrical system: Ask a certified electrician to assess panel capacity and circuit requirements.
Future use: Decide whether a later vehicle or second EV changes the infrastructure choice.
The practical target isn't a perfect empty-to-full session. It's dependable daily readiness. If your current effective rate replaces your normal driving during the time the car is parked, more power may offer little benefit. If it doesn't, identify whether the wall circuit or the onboard charger is responsible before planning an upgrade.
For a home or workplace installation in Southeastern Pennsylvania, Amp'd Energy Solutions can assess Level 2 charger placement, dedicated circuits, panel readiness, and related electrical upgrades. Visit Amp'd Energy Solutions to discuss your vehicle, charging schedule, and the electrical work needed for a code-compliant setup.
Comments