

Level 2 EV Charger Cost: What to Expect in 2026
A straightforward residential Level 2 EV charger installation commonly lands around $900 to $1,900 all-in, excluding major panel work. Projects often move higher once the wiring run gets longer, the charger sits far from the panel, or the home lacks enough electrical capacity.
You may be looking at chargers online, comparing features, and assuming the device is the main expense. Then an electrician asks where your panel is, how far the garage sits from it, whether the walls are finished, and what else runs in the house. That's when the question appears: what will it cost to deliver safe, code-compliant power to the charger?
In Southeastern Pennsylvania, two homes can use the same Level 2 unit and receive very different quotes. A short, accessible run in an attached garage is a different project from an outdoor charger at the end of a long driveway. The useful way to estimate the level 2 EV charger cost is to separate the budget into three parts: the hardware, the installation path, and any electrical upgrade required to support it.
Table of Contents
The Real Cost Story Behind Level 2 Charging
The turning point usually comes after the first few weeks of EV ownership. Charging from a standard outlet works, but it may not fit a commuter's routine, a family's evening schedule, or a workplace that wants dependable charging for employees. A Level 2 system uses 220 to 240 volt service and a dedicated circuit, giving the vehicle a faster and more controlled charging setup than a general-purpose receptacle.
The charger itself may look like a self-contained product. Electrically, it's the endpoint of a much larger path that starts at the service panel. That path may include a two-pole breaker, conductors, conduit, wall penetration, weather protection, disconnecting equipment, permits, and inspection work.
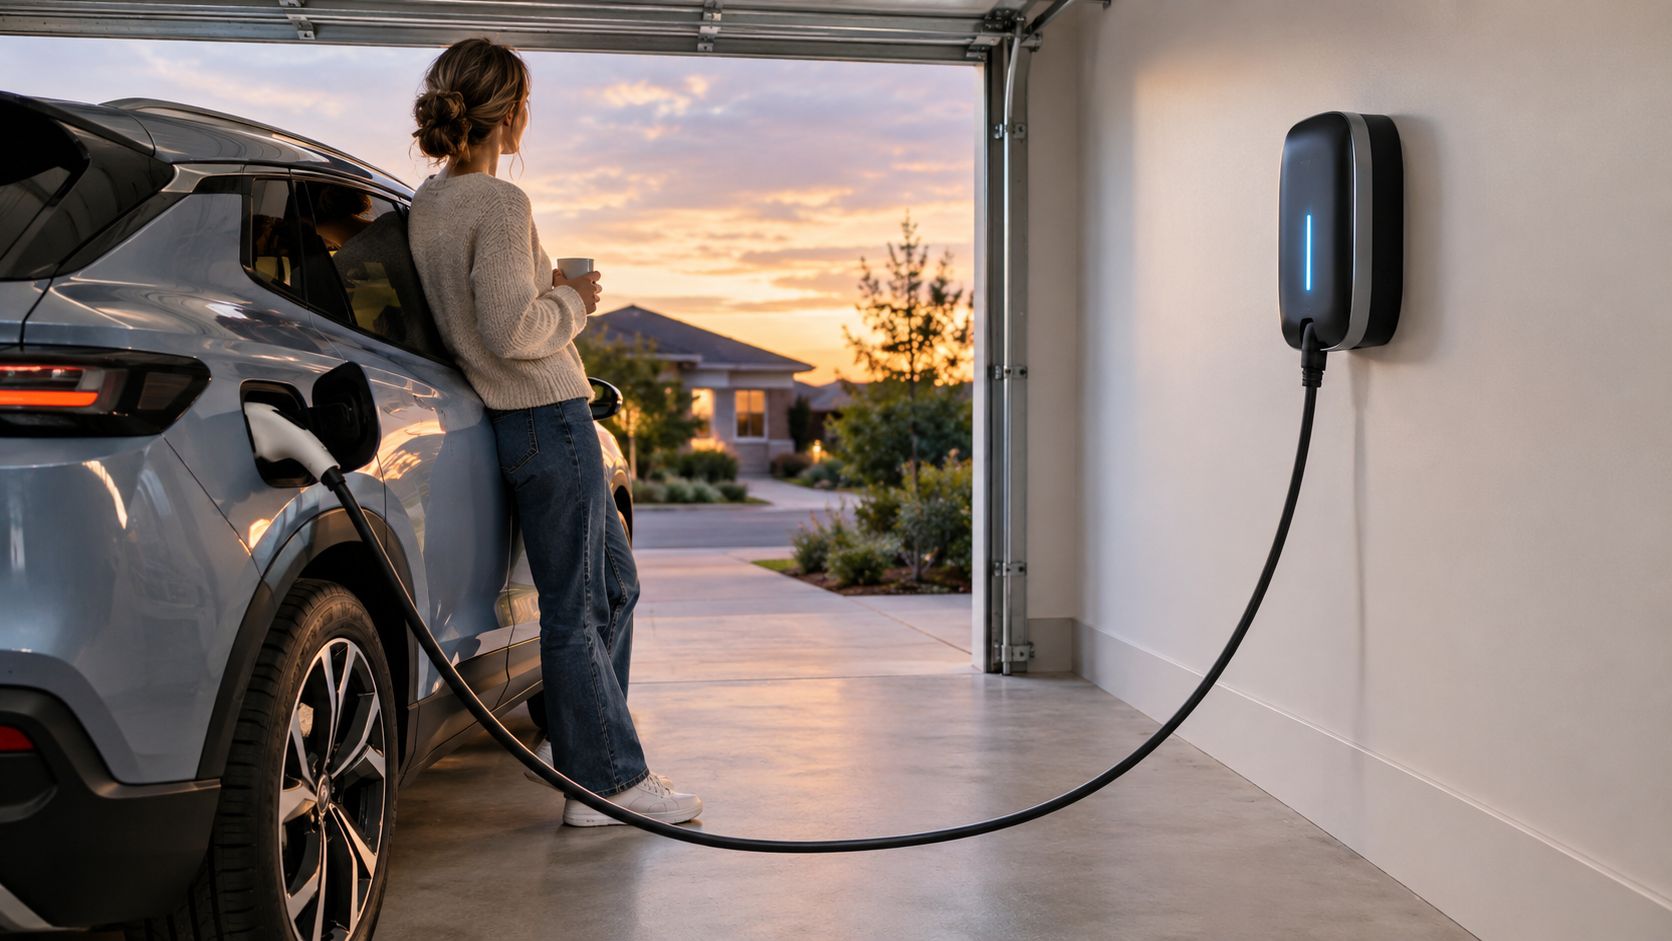
A homeowner with an attached garage and a nearby panel may need little more than a dedicated branch circuit and proper mounting. Another homeowner may have a panel on the opposite side of the house, finished ceilings between the panel and garage, or a detached garage that requires protected exterior routing. The hardware can be identical, but the labor and materials won't be.
Practical rule: A charger quote is only reliable when it describes the electrical route, not just the charger model.
The U.S. Department of Energy identifies installation as the largest driver of total Level 2 expense in the U.S. market, with installation costs ranging from $600 to $12,700 depending on site conditions and project type. It reports average installation costs of about $1,400 for a single-family home and about $3,000 per port for public stations in the cited data. The DOE transportation infrastructure cost summary illustrates why a single national average can mislead homeowners.
The right budget question isn't “Which charger is cheapest?” It's “What does my property need to make this charger safe, permitted, accessible, and ready for daily use?”
Level 2 EV Charger Cost Breakdown
A useful quote separates equipment from electrical installation. The equipment is the EVSE unit, mounting hardware, cable, and any included controls. The installation is the work required to connect that equipment to a suitable source of power.
For a typical homeowner, a California utility places the charging station itself at $500 to $700, with installation adding $400 to $1,200 before major electrical work. That implies a common straightforward project range of roughly $900 to $1,900, while Consumer Reports data cited on the same utility page puts national installation averages near $1,000, with household projects reaching $500 to $4,000 when wiring and electrical upgrades add complexity. PG&E's residential EV charging guidance provides the residential context for those figures.
Site Type | Average Installed Cost Per Port |
|---|---|
Single-family home upgrade | About $1,400 |
Workplace Level 2 port | $2,704 |
Public Level 2 port | $3,343 |
Fleet Level 2 port | $2,018 |
The workplace, public, and fleet figures come from the DOE material cited above. They include much more than the box on the wall. Commercial projects can require sturdier mounting, communications equipment, bollards, signage, trenching, engineering review, and coordination with property owners or utilities.
A separate federal infrastructure benchmark places residential Level 2 installation hardware at about $1,300 per connector, while public or workplace installation averages about $2,500 per connector. It also lists public Level 2 hardware at about $3,500 per connector, reinforcing the point that the charger and the electrical path are separate cost centers. The Alternative Fuels Data Center infrastructure development guidance explains the relationship between equipment, circuit requirements, and site infrastructure.
For planning purposes, ask for at least these line items:
Equipment: Charger, mounting components, cable, and controls.
Circuit work: Breaker, conductors, conduit, fittings, and terminations.
Site work: Wall access, exterior routing, trenching, patching, or pedestal preparation.
Approvals: Permit handling, inspection coordination, and required documentation.
Capacity work: Load management, subpanel work, or service changes if the panel can't support the added load.
The number that matters isn't the equipment price in isolation. It's the installed price for a compliant system at your property.
Residential vs Workplace vs Public Installation Differences
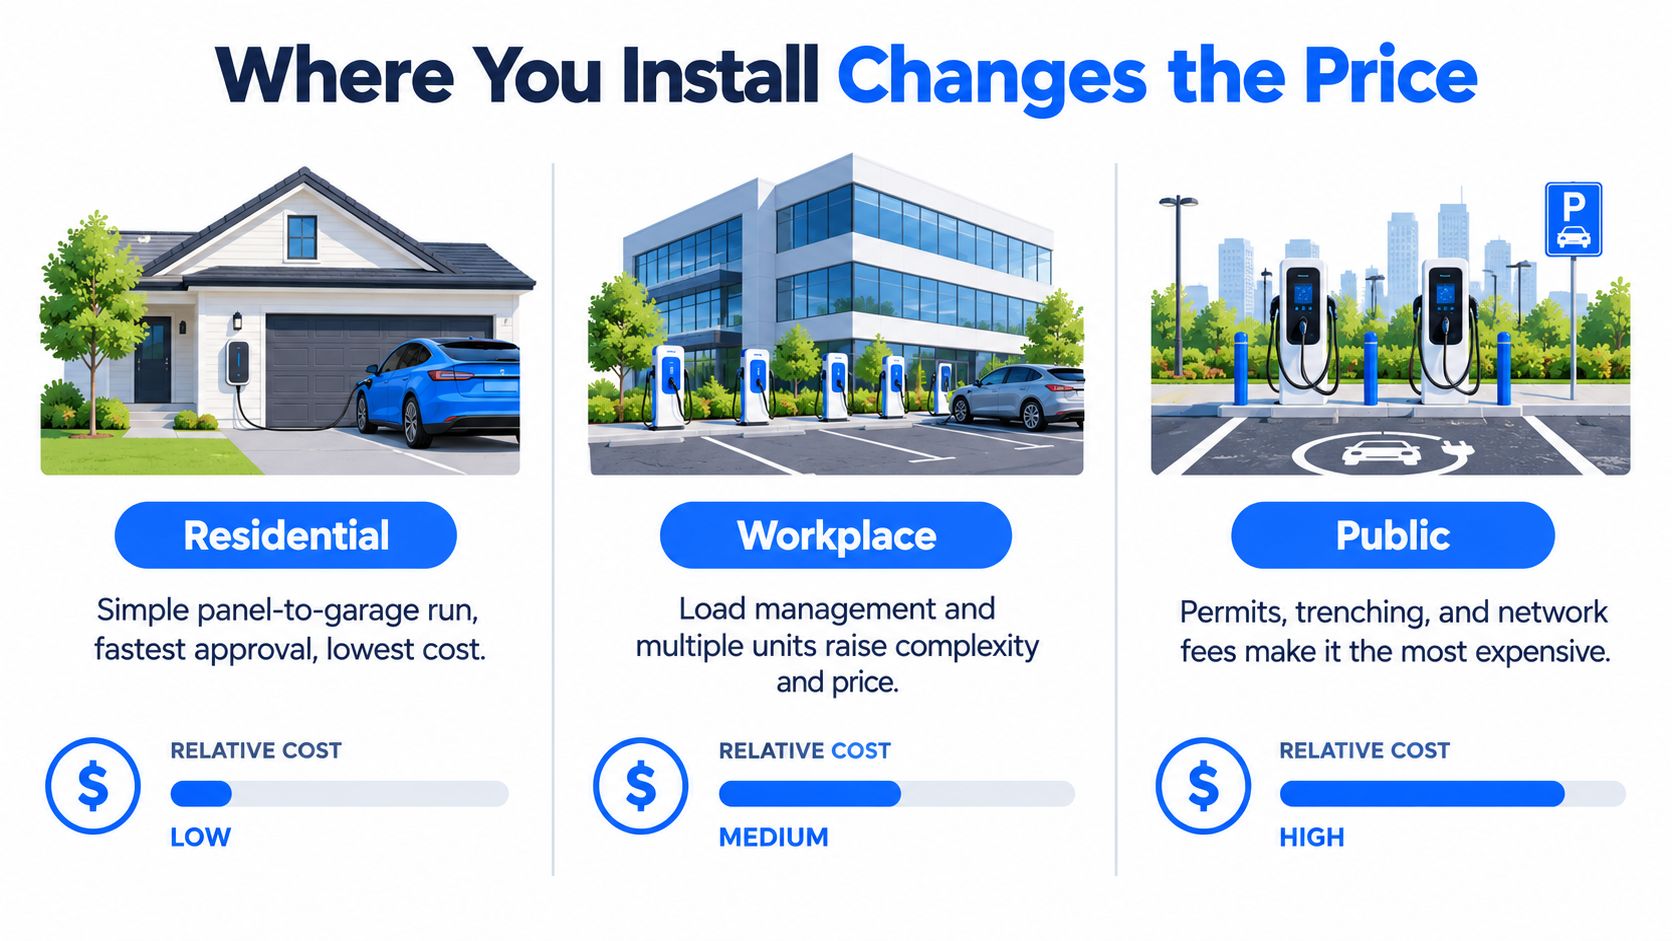
Residential installation is usually the simplest because one owner controls the panel, the parking location, and the charging schedule. A wall-mounted unit in an attached garage can keep the route short and avoid additional site preparation. If the panel has room and capacity, the electrician can focus on one dedicated circuit, one charger, and one inspection path.
Workplace charging changes the calculation. Multiple vehicles may charge during the same part of the day, so the electrical design may need load sharing or managed charging. The property owner may also need to coordinate parking layout, accessibility, protective posts, networking, and employee access. Even when each charger is physically similar to a residential unit, the supporting infrastructure becomes a larger part of the project.
Public installations add another layer. Equipment may need to withstand greater exposure and repeated use, while the site can require trenching, pavement restoration, lighting coordination, signage, payment or network connectivity, and more formal permitting. Public-facing hardware can also cost more than basic non-networked equipment, as the DOE infrastructure guidance notes.
Mounting style matters, too. Data summarized by Idaho National Laboratory from the EV Project found publicly accessible AC Level 2 units averaged $3,108 installed per unit, with wall-mounted units averaging $2,035 compared with $3,108 for pedestal units. The same dataset found 76.2% of installations fell between $1,000 and $4,000. The INL analysis of public charging installation cost drivers shows how mounting and site preparation influence the final bill.
The practical hierarchy is straightforward:
Residential: Usually the shortest route and fewest stakeholders.
Workplace: More ports, demand management, and coordination.
Public: More site work, protection, permitting, and operational requirements.
A homeowner shouldn't use a public installation average as a personal quote. A commercial property manager, however, shouldn't assume residential pricing applies because the chargers will be mounted on a wall.
What Drives the Final Installation Price
An electrician should evaluate the installation path in a deliberate order. The charger location is only the starting point.
Panel location and route
First, identify the service panel and the proposed charger position. A charger mounted beside a panel may need a relatively direct run. A charger on the far side of a finished garage, outside the building, or in a detached structure may require significantly more conduit, drilling, surface protection, or trenching.
The route matters more than straight-line distance. An open basement ceiling offers different access from a finished ceiling, masonry wall, tile surface, or route to a detached garage. Exterior conduit can be practical, but it still needs correct protection, support, and weather-resistant installation methods.
Circuit sizing and load assessment
Level 2 equipment needs a dedicated circuit sized for the charger and the applicable electrical requirements. The electrician checks the panel bus, breaker spaces, service rating, existing conductors, and the home's major loads. Heating equipment, cooking appliances, water heating, pools, workshops, and another EV circuit can all affect the calculation.
A professional electrical load assessment helps determine whether the charger can operate within the existing service or whether the design needs managed charging, a subpanel, or a larger service.
Permits and finish work
Permitting isn't a cosmetic add-on. Local authorities may require specific plans, inspection steps, equipment documentation, or correction work before the system can be approved. Fees and procedures vary widely by state, with cited permit costs ranging from $45 to $720. The installation cost analysis from EnergySage highlights why local approval requirements belong in the first quote, not as an afterthought.
A reliable estimate should also account for drywall access, surface repair, trench backfill, and cleanup. A low bid that excludes those items may look attractive until the route is opened.
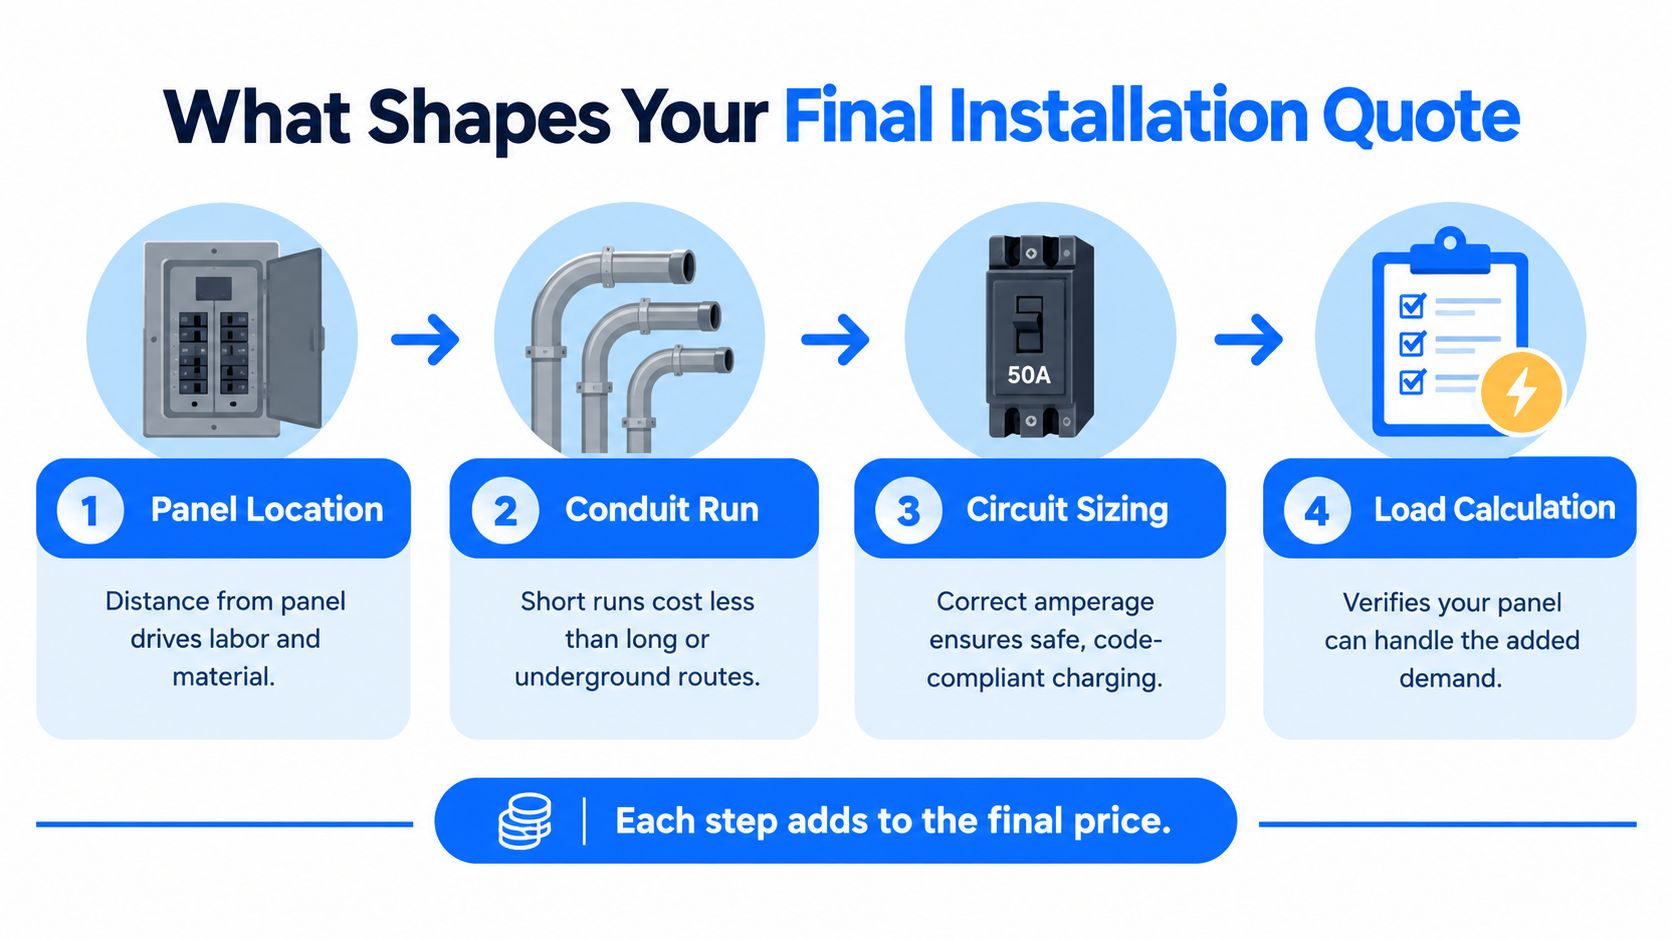
The box is visible. The electrical path determines the budget.
When Panel Upgrades Change the Budget
A panel upgrade becomes relevant when the existing service can't safely carry the charger alongside the home's calculated loads, or when the panel lacks a suitable breaker position and compliant equipment. The decision shouldn't come from the age of the panel alone. It should come from an electrician's inspection and load calculation.
A typical Level 2 charger requires a dedicated circuit, so the electrician needs to confirm both physical space and electrical capacity. A panel can have an open breaker position and still lack enough service capacity. Conversely, a load-management design may allow charging without replacing the main service, depending on the equipment and local requirements.
The budget changes sharply when the project moves beyond a branch circuit. A cited planning range places a subpanel at $500 to $1,500, a panel upgrade at $1,500 to $4,000 or more, and a full service upgrade at $3,000 to $5,000 or more, depending on scope and location. These figures come from the installation cost guidance linked in the previous section, and they should be treated as planning bands rather than a firm local quote.
Ask these questions before signing:
What did the load calculation show? Request the conclusion, not just a verbal assurance.
Is the proposed circuit included? Confirm breaker, conductors, conduit, and terminations.
What happens if capacity is insufficient? Get separate pricing for load management, subpanel work, and service replacement.
Who handles the utility and inspection process? Clarify responsibility before work begins.
For a deeper explanation of the decision, review this guide to electrical panel upgrade cost. The most expensive surprise is usually not the charger. It's discovering after installation starts that the home needs a larger electrical project.
Incentives, Rebates, and Financing Options
Incentives can reduce the amount you pay upfront, but they shouldn't determine the electrical design. Programs vary by utility, municipality, property type, equipment choice, and installer qualifications. Some require preapproval, specific documentation, a completed permit, or an approved charging unit before they release funds.
Start with the utility serving the property. Ask whether the program applies to residential, workplace, fleet, or multifamily charging, and whether the application must be submitted before purchase or installation. Keep the itemized invoice, permit records, inspection approval, equipment documentation, and proof of payment together.
Tax credits may also apply in some circumstances, but eligibility depends on the governing rules and the location of the installation. Don't treat a rebate advertisement as guaranteed savings until the program administrator confirms the requirements in writing.
Financing can help when the project includes panel work, trenching, or several workplace ports. Compare the total repayment, fees, promotional terms, and whether the financing covers only equipment or the full permitted installation. A payment plan shouldn't justify choosing a charger or circuit design that doesn't fit the property.
The sound approach is to design the compliant project first, then calculate eligible assistance. That keeps the incentive from pushing you toward undersized wiring, an unsuitable location, or a rushed installation.
How to Read a Level 2 Installer Quote
A trustworthy quote reads like a scope of work, not a single attractive number. It should identify the charger model or equipment allowance, proposed location, circuit rating, wiring method, approximate route, mounting method, permit responsibility, inspection handling, and testing.
Look for a clear distinction between included work and conditional work. For example, the base price might cover a standard panel-to-garage run, while the quote separately identifies potential costs for a subpanel, service upgrade, trenching, wall repair, or longer-than-expected routing.
Questions that expose weak estimates
Has someone inspected the panel? A remote price based only on a charger photo is provisional.
What route does the quote assume? Ask whether the price includes finished-wall access, exterior conduit, or underground work.
Is the charger hardwired or plug-in? Confirm the receptacle, enclosure, disconnect, and weather protection requirements.
Are permits and inspections included? Ask who schedules corrections if the inspector requires changes.
What isn't included? Request a written list of exclusions and change-order rates.
Reputable electricians usually ask about the home's age, panel location, garage type, parking position, existing large loads, and future plans before offering a firm number. They may provide a range until they can verify the route and capacity.
Be cautious with an offer that is cheap only because it assumes an ideal installation. A quote that omits load assessment, permit handling, or the physical wiring path hasn't eliminated those costs. It has left them unresolved.
Planning Your Level 2 Charging Project
The true level 2 EV charger cost has three moving parts: equipment, the electrical route, and panel capacity. Hardware affects the selection, but the property determines how much work it takes to make that selection function safely every day.
Use this checklist before approving the project:
Photograph the panel, label, breaker layout, garage, and proposed charging location.
Ask for a load assessment and a written route for the dedicated circuit.
Choose equipment suited to the vehicle, mounting location, and charging habits.
Check utility and local incentive requirements before purchasing.
Compare itemized quotes from licensed installers familiar with local permitting.
Get separate pricing for any panel, subpanel, trenching, or service work.
A qualified Level 2 EV charger installation should end with testing, documentation, and a clear explanation of how the system operates. Planning those details early gives you a realistic budget and reduces the chance of a change order after the walls or driveway are already open.
Amp'd Energy Solutions evaluates panel readiness, designs dedicated circuits, handles permitting, and installs Level 2 charging for homes and workplaces in Southeastern Pennsylvania. Visit Amp'd Energy Solutions to request a site assessment and discuss the charger, wiring route, and upgrade options before you commit to a quote.
Comments